So, I’m a newbie to the whole Kombucha world. I honestly hardly ever drank it before I started making it myself. I tried it a few times & thought, it’s okay, but honestly I really didn’t WANT to like it because it’s so expensive. I’m a huge fan of iced tea & have been making that by a gallon or 2 for years, always from loose leaf tea from Mountain Rose Herbs. But when a local friend asked if I wanted to try a couple of bottles of Kombucha that she had brewed, I accepted. One was ginger, one was blueberry. They were SO good! Then from there, she offered me a SCOBY, and the rest is history! That was right before Christmas, and I’ve managed to keep the SCOBY alive & thriving since, and am absolutely loving making this stuff! Now, it’s hard to imagine my life without this brew in it!
Again, let me say I’m a newbie. But I’ve shared my love of this brew with my online group over the past few months, and many of you have asked me to share my tips & experiences with you. So, here’s my post based on my experience. There are TONS of other blog posts out there. So if you want more background on the history, health benefits, etc, Google away. My goal is to keep this on the brief, basic side. It’s SUPER easy, SUPER cheap, and SUPER delicious!
TO START: Ideally you need to find someone local with the starter SCOBY, it’s a weird-looking gelatinous blob, and it should come with ~1cup of starter tea (remnants from the last batch, you always save a little). I see Amazon and other online sites do have it for sale if you can’t find something locally. I have no idea which brands are better than others (if anyone has experience ordering online, please let me know). I have been doing 1 gal at a time, going to up it to 2 because I love it so much.
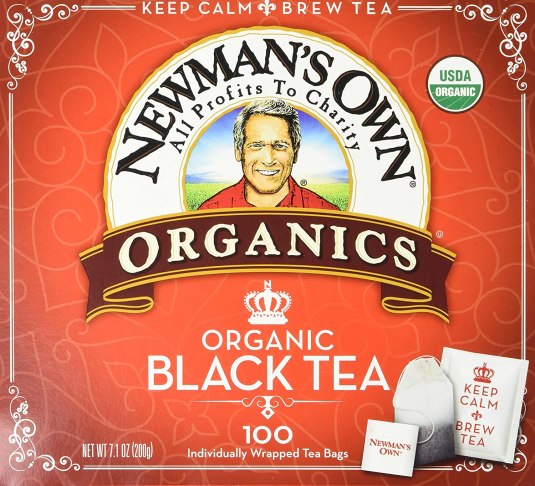
Tips on what tea to choose. It’s my understanding the SCOBY does best with some caffeine. I do see that some use green tea, but the advice from my friend who I started from, and the bit that I read before getting started myself was that black tea is ideal. You can do loose leaf, but using bags just makes it super easy. I’m using Newman’s Own Organic Black. I get a box of 100 for ~$6 at my food co-op. I use 8 bags/gallon, so that’s ~$.50 for tea. The recipe I’m following is this: 8 black tea bags + 1 cup of sugar per gallon of brew. I use organic turbinado (raw) sugar (for everything in my home). I need to weigh/price 1 cup next time I fill up my jar at my food co-op, but my guess is that it’s around $1/cup. So that means 1 gallon of kombucha comes in at around $1.50/gallon. Read that again, especially if you’re buying it regularly in a store. $1.50 PER GALLON!
DIRECTIONS: Here’s what I do–bring 1 gallon of water to boil in my stainless steel stock pot. Add 1 cup of sugar, stir to dissolve. Add 8 black tea bags, steep for 3-4 hours, until the brew has cooled down to room temp. Temp is important with kombucha, too hot & it can kill the SCOBY, too cool, it will take much longer to brew. Taste it after 1 week, do you like the basic flavor? If you let it sit too long, it will have more of a vinegary bite to it. Room temp is ideal for brewing, 70’s is great. We heat with wood, so parts of our house are frequently in the 80’s. I settled on our back utility room as the ideal spot, and it has worked very well.
It’s a 2 step process of fermentation. The 1st step needs to have aerobic (with air) activity. So you need something like a towel or pillow case as a lid for your container. Fruit flies can get through cheesecloth. 1 of my jugs has a pillow case as a cover, the other has a towel. I let the 1st ferment sit ~1 week. Your 1st brew you might want to let sit a bit longer, as your SCOBY is growing in health.
The 2nd ferment is when you add the flavors you want! This process requires anaerobic (without oxygen) activity. So after letting the tea sit with the SCOBY for 7-10 days, you transfer it to an air-tight container with some fruit. My friend sent a bunch of Grolsch bottles with my starter SCOBY. I used those several times when I was just brewing 1 gallon at-a-time. Once I decided to up my production, those bottles seemed too small. So I started using quart jars, and they are working perfectly! I started simple, a jar of blueberry, a jar of strawberry. Then I started doing combos: straw/blue. Then I added ginger to those. Basically I do a layer of each fruit. The more brews I do, the more I experiment. I LOVE blue/straw/ginger, then I added pineapple to that, THE best! But I also love ginger/raspberry/aronia.
The sky is the limit when playing with flavors. So you fill your jar to the tippy top and let that sit at room temp for ~3 more days. The longer you let it sit, the more carbonation you will have. Also, certain berries/fruits ferment quicker. Again, temp plays a role too, so a winter brew will ferment slower than a summer brew. My friend told me a story about opening a strawberry ferment & it shooting all over her kitchen, soaking her ceiling. I’ve not had this happen YET. But wise advice is to open with a towel over your lid. The awesome thing is, you can totally customize your brew to your liking. Like it sweeter? Add a bit of sugar to the 2nd ferment. Like it really fizzy? Let both ferments sit longer. I prefer mine on the flatter vs fizzier size.
It is possible to kill your SCOBY. When you handle it you have to make sure your hands are super clean. My friend who I got mine from killed hers once while dividing it for a friend, it grew mold after she separated it. She assumed her hands weren’t clean enough. It is ideal if you have a friend locally who knows what they’re doing, as I was able to have my friend come look at mine several times & assure me that it was healthy looking and as it should be. If you start googling healthy scoby vs moldy ones, there are tons of pics.
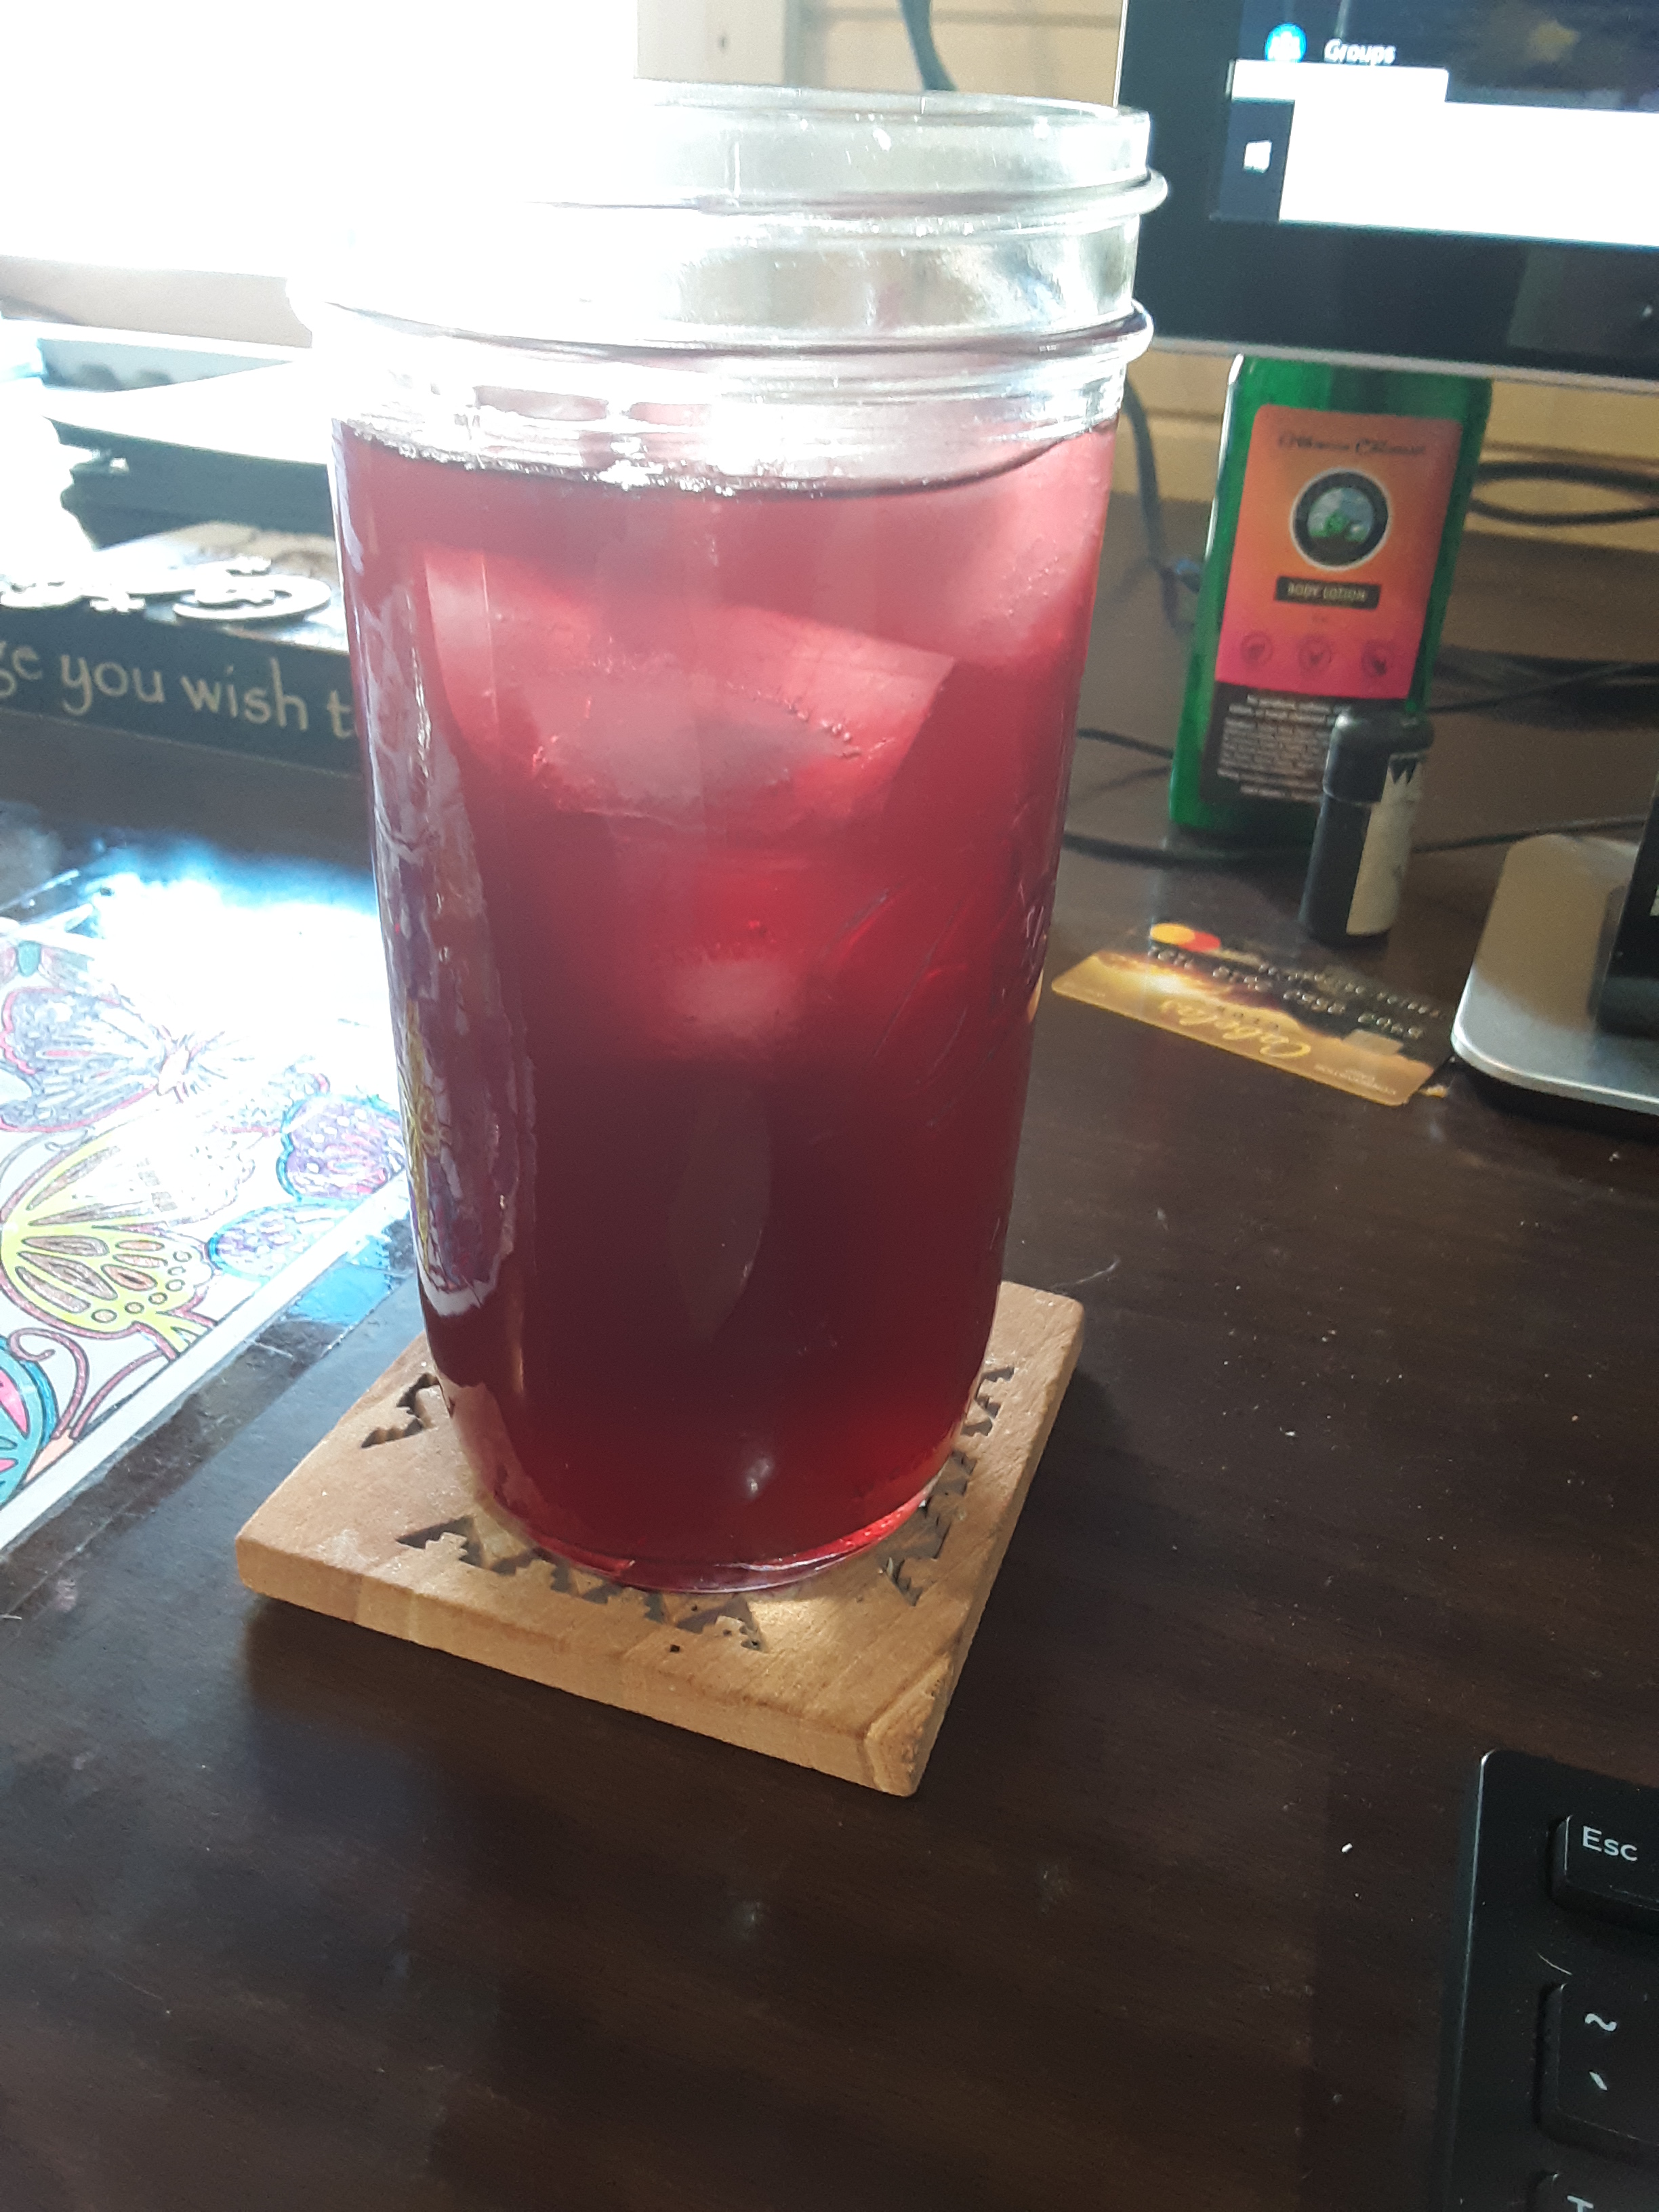
I love it on ice. I store it in quart jars, but usually drink it out of my favorite Mason jars, the 22 oz tall, wide-mouthed jars! I rarely drink coffee anymore, this is my morning wake-up. So refreshing, hydrating, delicious!
My 2nd Kombucha jug arrived & is working on its 1st continuous brew. My Hubby & Son are loving these brews so much too, I went from doing 1 gal, to 2 gal, now I’ll alternate between always having a 2 gal batch going and the 2nd ferment of the other happening. I LOVE this stuff, one of those things that wasn’t even on my radar a few short months ago, now I can’t imagine the before time!
Dispenser by Anchor Hocking: https://amzn.to/3aMO3XT
Spigot: https://amzn.to/3dIN2BQ
I’ve had the exact same dispenser since 2014 and it has held up great. I routinely used it for iced tea before my recent Kombucha days. The only thing I wish was slightly different would be that the hole would be down closer to the bottom a bit more. You have to tip it towards you to get the last few quarts out. But it works, and I’ve not had any issues with leakage.
That is my basic how to. Did I leave something out? Still have questions? Let me know! Again, I’m a total newb, but find this super easy, delicious, and cheap!
