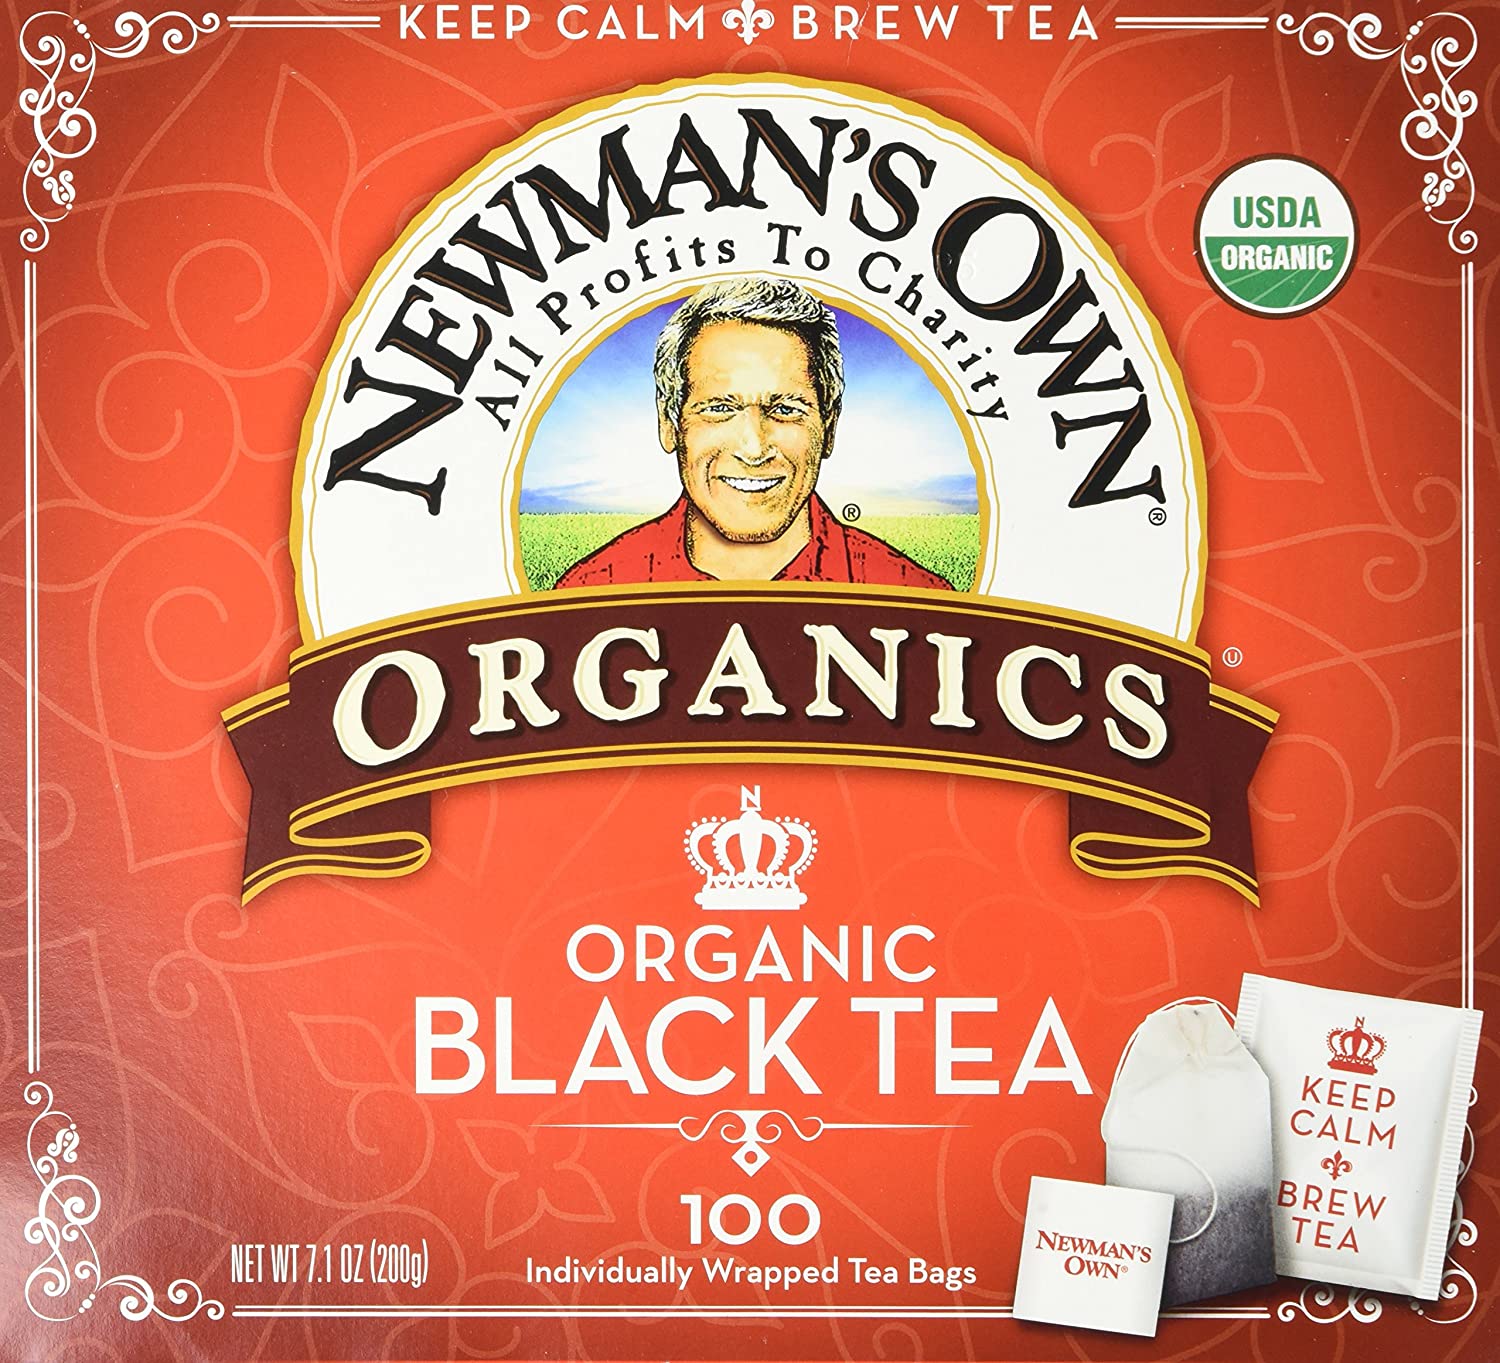
Let me start by saying I absolutely LOVE Poofy Organics Mouth Rinse. Like loooooooooove it. And I know many of you do too. If budget weren’t an issue, I would have a constant supply of it on hand. However, there has never been a time in my life that I haven’t been on a budget. And now more than ever, I’m really looking into every, single possible way I can to save some moola. Poofy’s Mouth Rinse is USDA certified organic and leaves my mouth feeling super fresh and amazing after using it! The thought of not having it gave me a bit of anxiety actually, I didn’t feel I could live without it. So the next best thing is to make it myself I decided! It has taken some adjusting from my base recipe. But I’m on about my 4th bottle now and have it dialed in to a really good blend that I’m enjoying and cost a fraction of the price. I haven’t taken the time to accurately figure out the cost (I’ll update this if/when I do that), but a very rough estimate is $5ish/bottle.
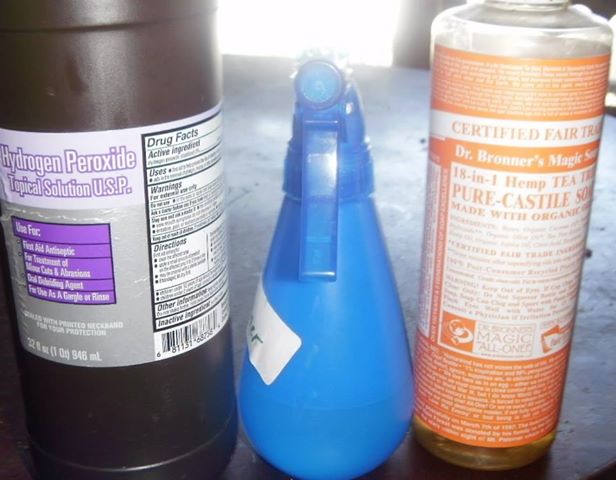
Here are Poofy’s ingredients: distilled water, organic aloe juice, food-grade hydrogen peroxide (1%), aluminum-free baking soda, organic essential oils of peppermint (Mentha piperita), eucalyptus (Eucalyptus globulus), tea tree (Melaleuca Alternifolia), cardamom (Elettaria cardamomum) & cinnamon (Cinnamomum Zeylanicum).
I decided to cut out the aloe juice as it’s quite expensive and I don’t feel crucial to the recipe being effective. I also decided to go with 3% peroxide instead of 1%. And I added xylitol as I’ve researched it a ton and believe it has great oral health benefits.
Here’s my recipe to make a 16oz bottle (I’m reusing old Poofy mouth rinse bottles I kept). I do make my own toothpaste as well, which uses xylitol, so really the only thing I had to purchase was the Gum Drops EO blend and peroxide. I’ll link to what I use, but of course these are just suggestions. The EO’s in Poofy’s Mouth Rinse, and the Gum Drops blend do vary slightly. But both have great oral health properties for sure. You could certainly add Eucalyptus and/or Cardamom to the below recipe (and anything else you want!) which are found in the premade Mouth Rinse Poofy offers that I’m trying to replicate here. But I don’t feel I’m missing out. I really like the blend I’ve created!
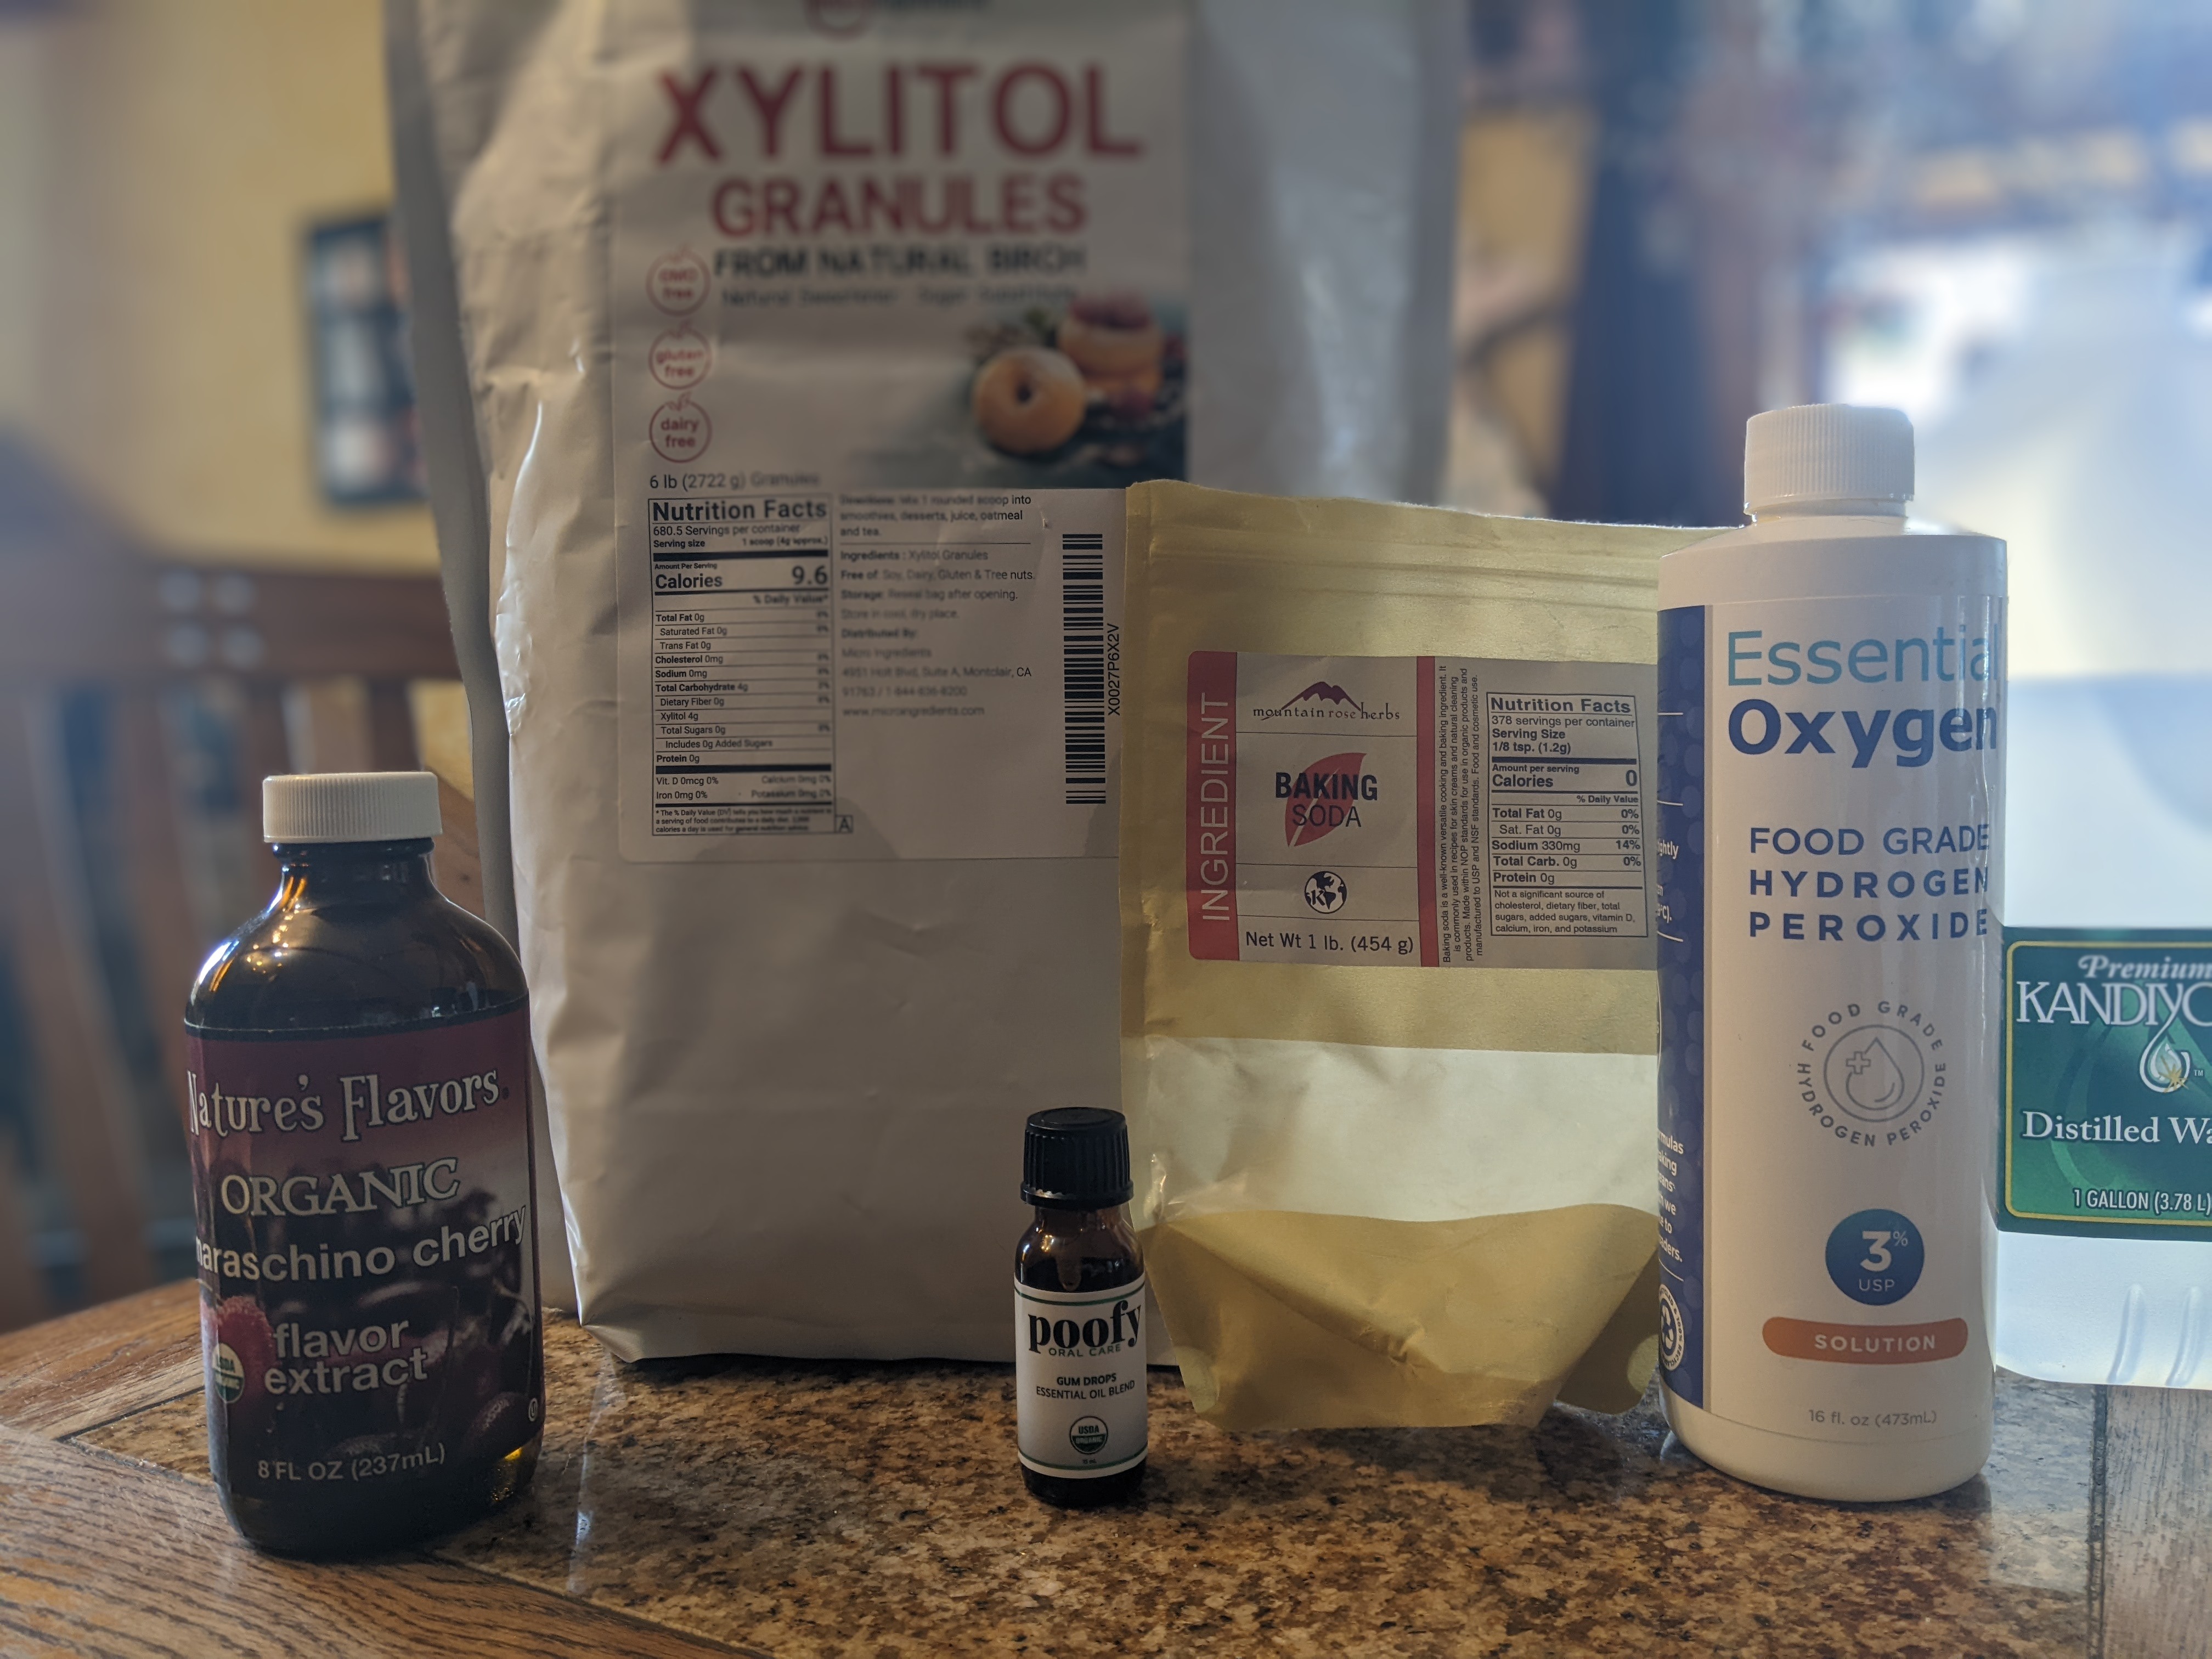
1 T baking soda
3 T xylitol
~30 drops Poofy Organics Gum Drops EO blend (USDA certified organic blend of the following: Organic Jojoba Oil, Organic Essential Oils of Clove (Eugenia Caryophyllus), Peppermint (Mentha piperita), Cinnamon (Leaf) (Cinnamomum Zeylanicum), & Tea Tree (Melaleuca Alternifolia)
1/2 C food grade hydrogen peroxide 3%
Top off with distilled water (~1.5 C)
*Optional: flavor oils of your choice. I have several on hand that I use to make homemade toothpaste. Of course anything minty is good, but I also love Cherry! It adds a nice bit of sweetness to go with the Gum Drops blend. I get my USDA certified organic flavor oils from Nature’s Flavors.
I use a funnel and add the dry ingredients to the bottle 1st, then the peroxide, and shake it to help dissolve the powders. Then I add the EO + flavor oil and finally top off the bottle the rest of the way with distilled water.
It will never be the same as Poofy’s Mouth Rinse. But for me, it’s a good compromise to make a few products myself, so I can keep room in my budget for those I can’t make and also can’t live without such as Poofy’s So Brilliant Facial Serum and Flawless Face Pm Cream!
Also note: The Gum Drops EO Blend is already diluted to a 2% ratio in Jojoba oil. I know several people use the EO directly on their toothbrush and brush with it.
Please let me know if you give this a try. You can obviously adjust it to YOUR liking!!
And don’t forget, Poofy Organics offers 3 sitewide sales annually: Earth Day, Labor Day, Black Friday. So with some planning, you can stock up and save 15% on your essential purchases then. I offer a 5% rebate on all orders, all the time. And shipping is free over $70! I LOVE helping YOU save money too!!!
Here is my link to all things Poofy Organics: https://poofyorganics.com/?ref=ecofriendlyusa